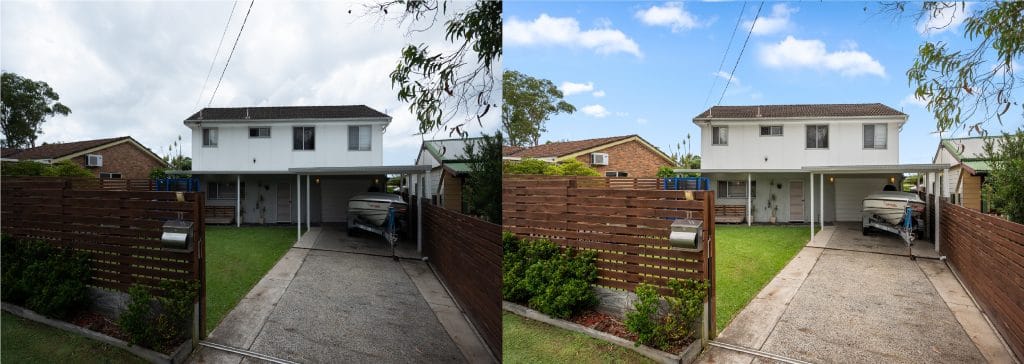
How to do sky replacement like a pro!!!!!!
How to do sky replacement
Sky replacement is a daily task when editing real estate photos. There are many methods and techniques to do this. In this Photoshop tutorial, we will discover how to replace the blue sky in a real estate photo using a combination of tools in Adobe Photoshop: Burn, Dodge, Level, Channel, Effect Maximum, and Panel.
Duration: 3’
Level: Basic
Tools: Burn, Dodge, Level, Channel, Effect Maximum, and Panel
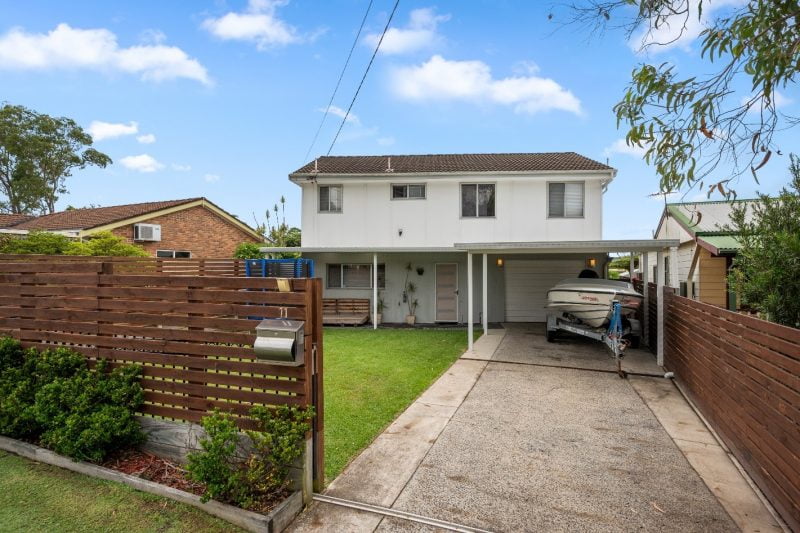
Let’s start. We intentionally selected this photo because big trees, branches and leaves cover part of the sky. We believe you might think that Magic Wand or the Color Range Command would be good choices for the blue sky swap but we will use a combination of the Channel, Level, Burn, Dodge and Panel to get the sky selection.
Our ultimate goal is to get a selection of the sky, so we make the sky replacement completely white (100% White) and the trees completely black (100% black).
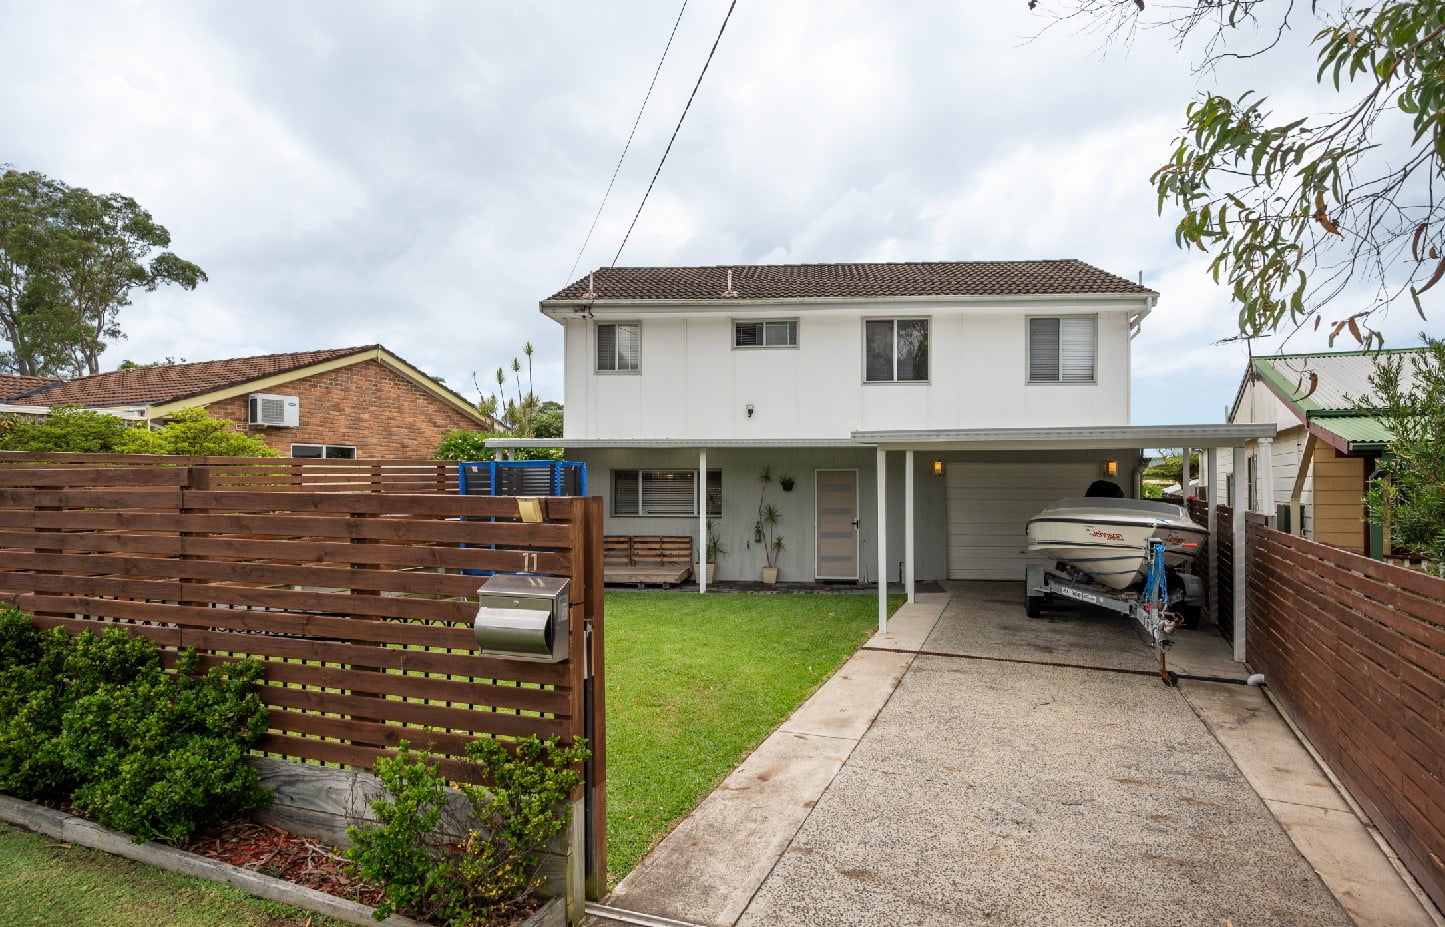
Step 1:
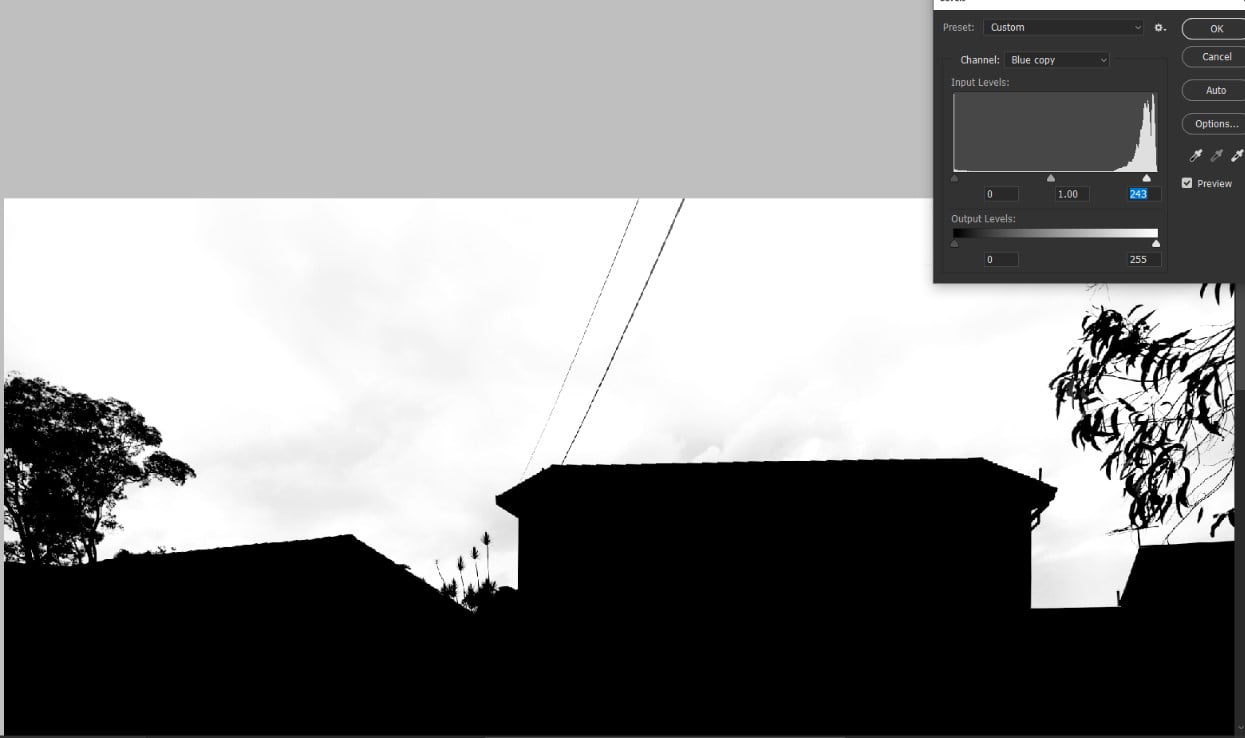
Firstly, we convert the image to Black and White color using the Channel panel and the Level tool because we try to create a clear black/white tint to the image.
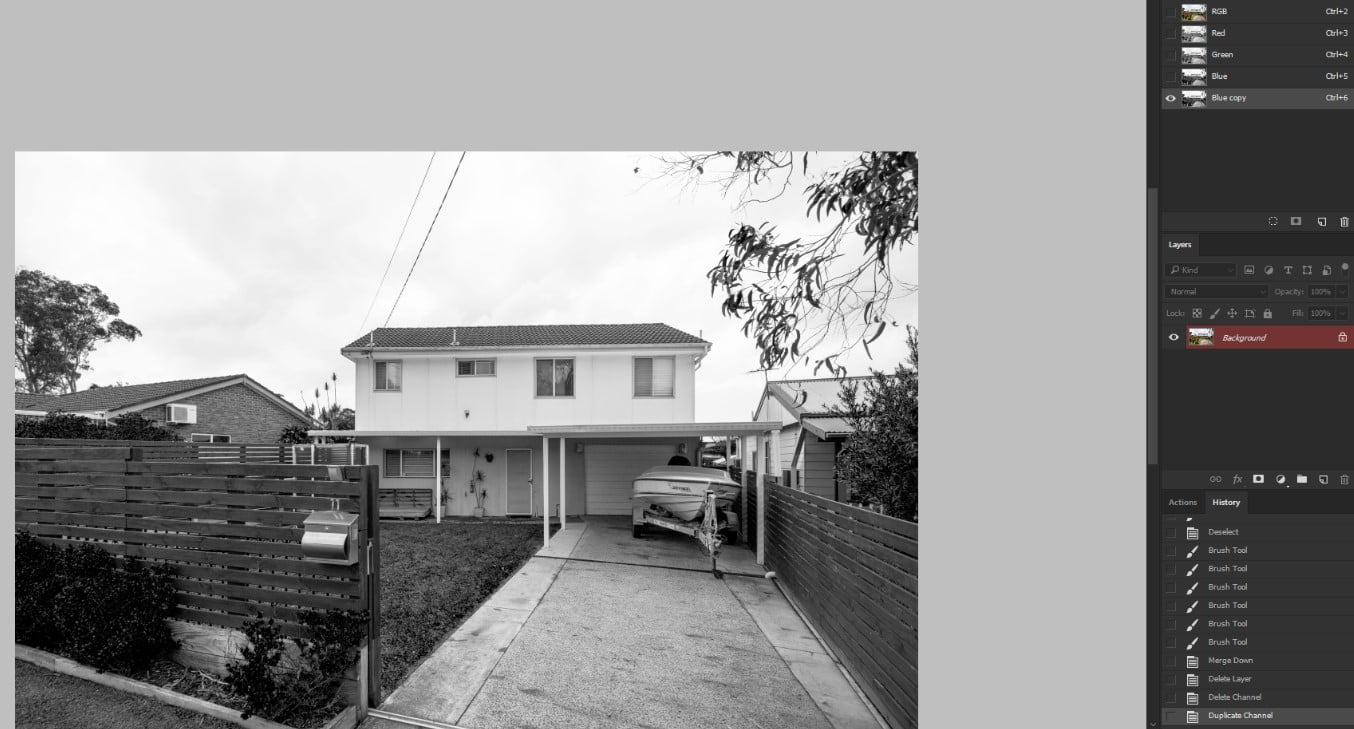
You should increase the contrast of the background and sky using the Level panel.
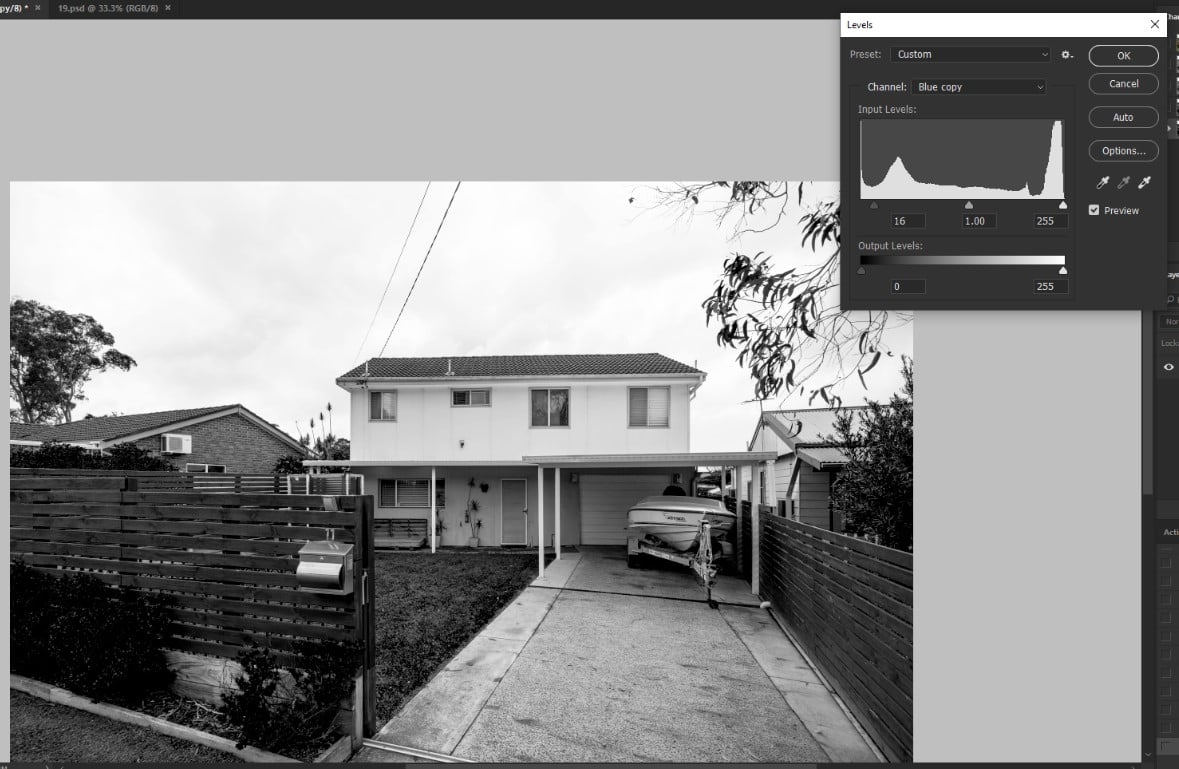
Steps 2:
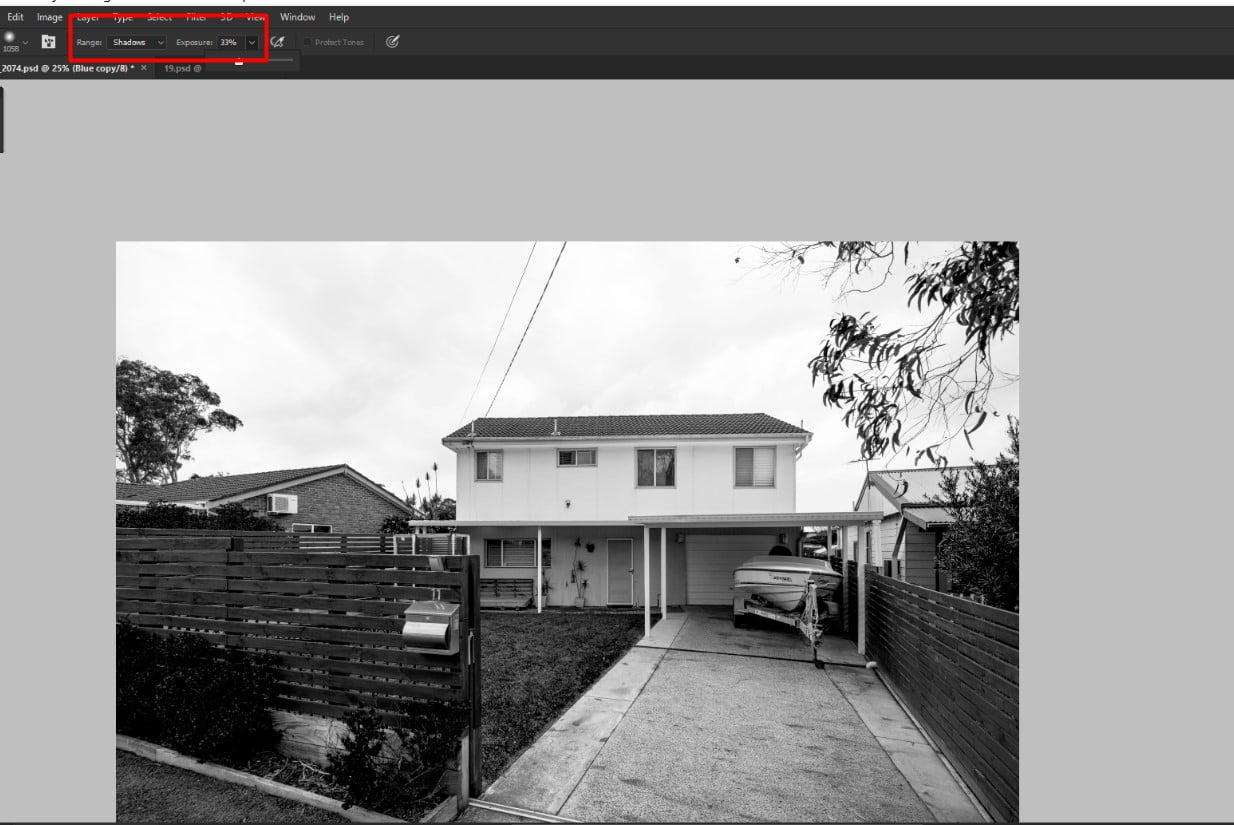
Next, to get the most details of the background (mainly the tops of trees) you guys should use the Burn tool to paint on the top of the tree and the roof.
Note: Select the tool of Shadow Channel and set the Exposure of Brush <30%.
Step 3:
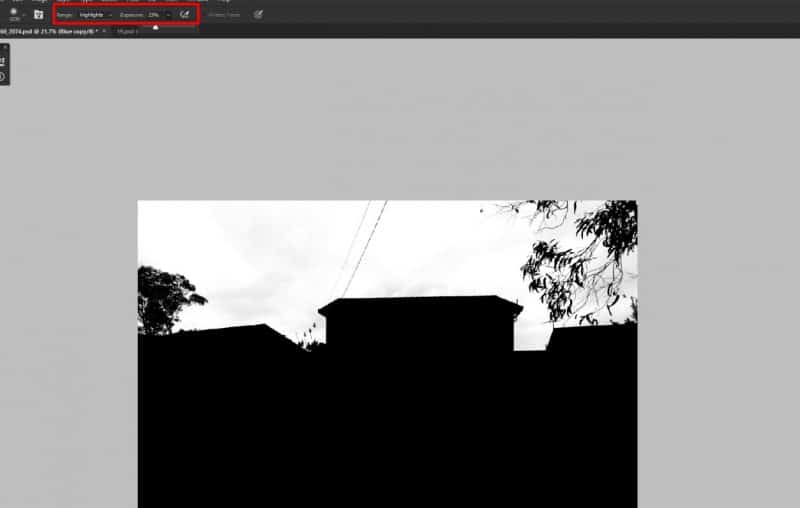
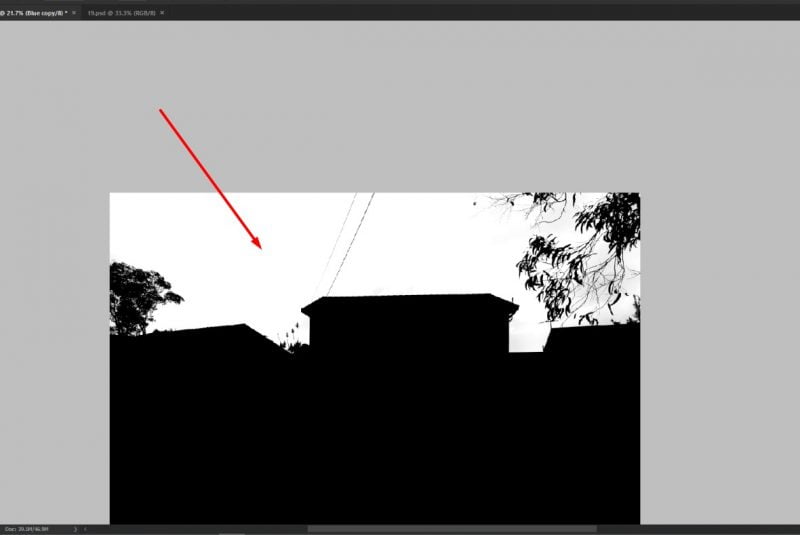
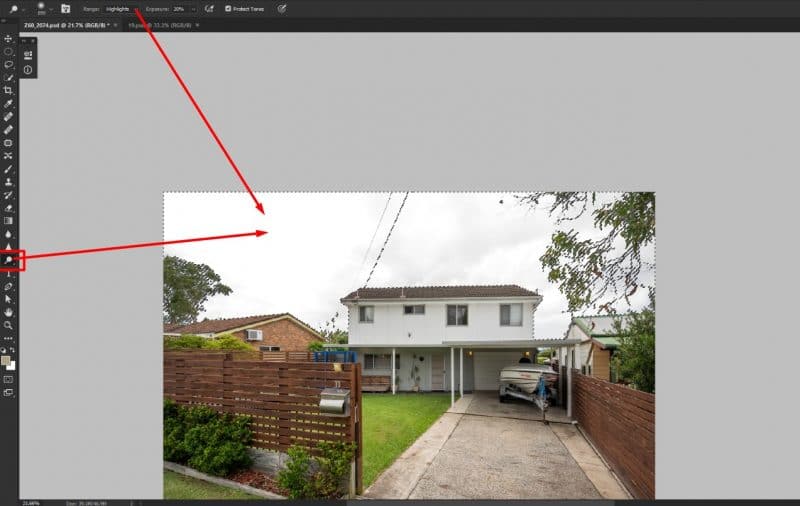
After the background (top of the trees) has been turned to black, we continue to work on the sky. The goal is to change the color of the sky to white. The Dodge tool will help you accomplish this goal.
Note: Select the Highlights Ranger with Exposure <30%.
Step 4:
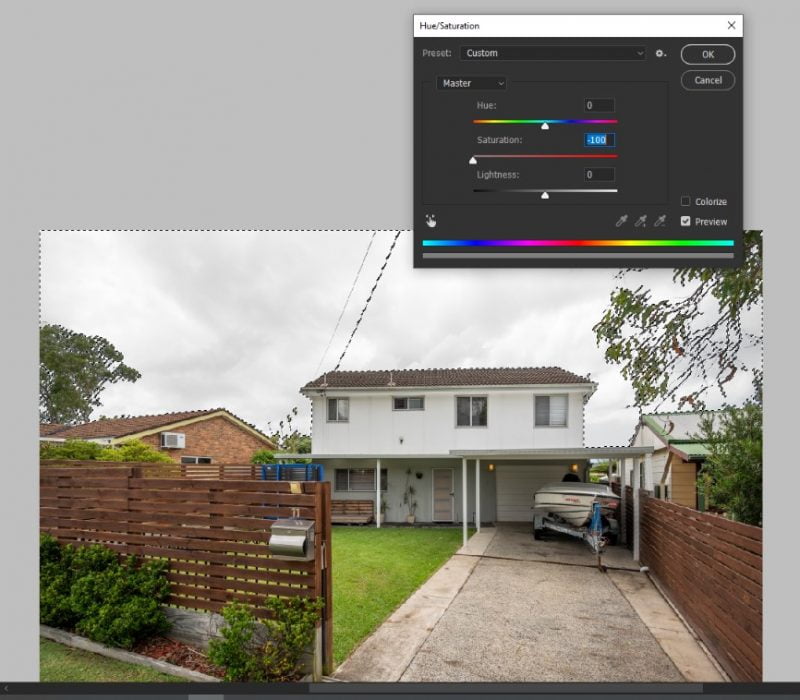
Use the Hue Saturation panel to push the Hue of the sky to “100% white”.
Step 5:
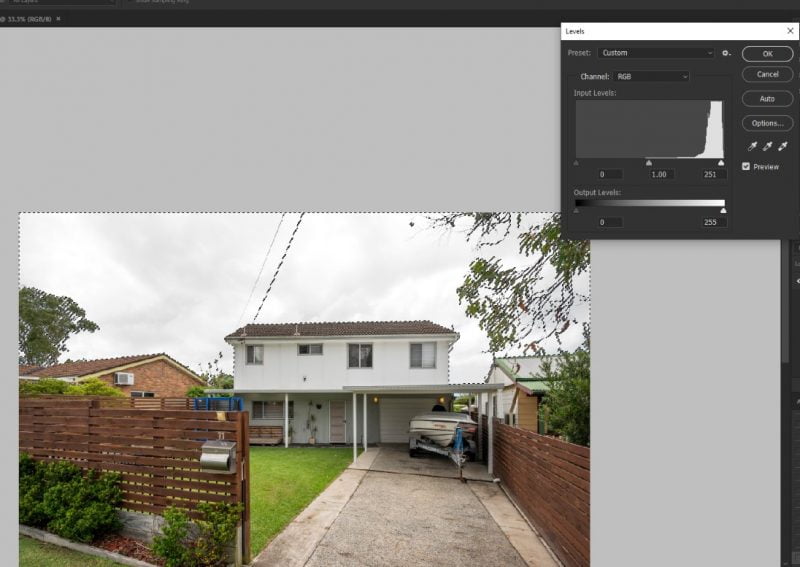
Use the Level panel to make the sky as white as possible (100%).
Step 6:
Use the Dodge tool to bring all the colors of the original sky to 100% White
Step 7:
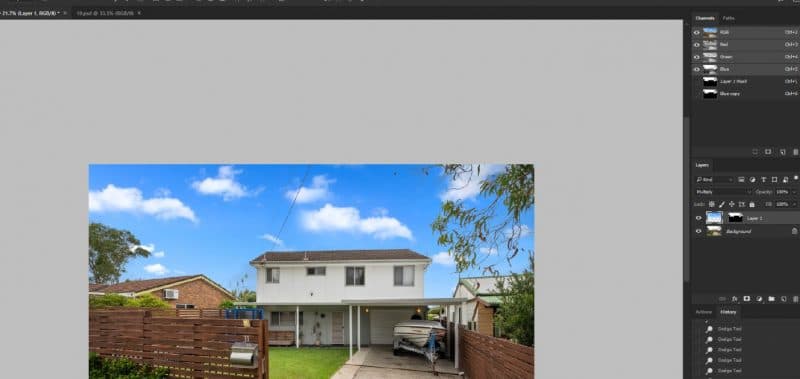
Note: when replacing the new sky, remember to set the Blending Mode to “Multiply”. This mode retains all the shades from the Dark (Shadow) and Midtone of the new sky and will blend with the bottom layer. (here is the background).
Step 8:
Note: To make the tops of the tree blend naturally with the sky, apply Effect> Maximum.
Ta-da!! Here comes the result.
If you have any questions or queries about our sky replacement post, feel free to comment below or send an email to [email protected] <3